
Not all internet issues are caused by your internet service provider. Sometimes, when you’re lucky, they are caused by issues that could be quick and easy for you to resolve yourself.
For example, if you’re faced with blank pages when attempting to connect to certain sites, this could be the result of the DNS cache on your system failing to update in sync with the website’s changing server location.
The DNS cache holds the IP addresses of the websites’ name servers. It accesses it to resolve the URL you type in the address bar, then it sends a request to that IP address.
When your DNS cache doesn’t have the updated information, the DNS cache of your system holds on to the older server information of the specific site and generates a request to a server which doesn’t exist anymore, resulting in a 404 error.
That may happen to any number of websites, not necessarily the majority of websites you regularly visit. But, if it keeps happening to a number of sites, then it’s time to flush out your DNS cache.
Clearing the DNS cache will force your system to request the new, updated server location from the respective name servers and update its DNS cache with it.
Read on to find out how you can clear your DNS cache.
Microsoft Operating Systems
Windows 10
In Windows 10, make sure you are logged in as an administrator before following the steps below.
- Press the Window button and the ‘X‘ key together to open up the menu on the bottom left corner. You can also right-click on the Start button to access it.
2. Scroll through it and click on the Windows PowerShell(Admin). You can also click on the Command Prompt(Admin).
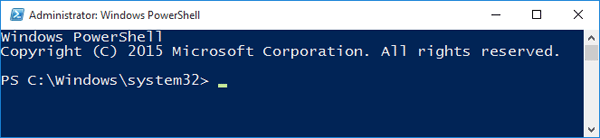
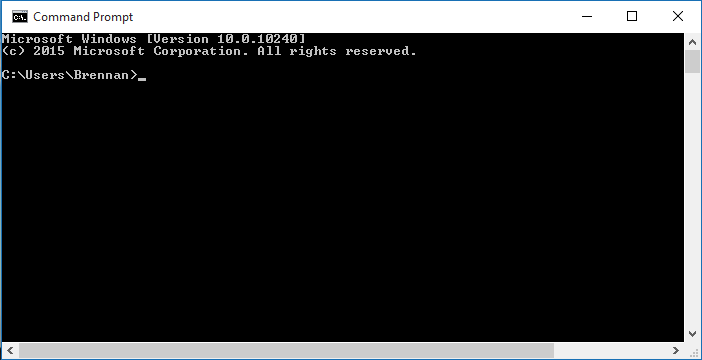
3. When the PowerShell or Command Prompt application is running, (which looks like a window with a DOS command prompt inside), write the command Ipconfig/flushdns. Then press Enter.
Once the command executes, you will see a message confirming that the DNS has been successfully flushed.
Windows 8 and 8.1
Windows 8 and 8.1 are very similar in structure and design, and therefore, the method for flushing the DNS cache is the same for both of them. Once again, make sure that you are logged in as an administrator or that you run the commands as an admin level user.
- On the Windows Start Screen, don’t click on anything, just type cmd and press Enter. A search bar will become visible in the top right corner with matching results.
- In the search results, right-click the Command Prompt and then select Run as administrator.
- Here, the command prompt application will appear, just like Windows 10. Type Ipconfig/flushdns and then press Enter.
Once executed, the prompt will show a success message.
Windows 7 and Vista
The method for clearing the DNS cache in Windows Vista and 7 is the same. You need to be logged in as an administrator level user or run the command as an admin.
To clear the DNS cache:
- Press the start button and then search for the Command Prompt application by either typing cmd in the Search bar or by simply going to All Programs -> Accessories -> Command Prompt.
- Right click the Command Prompt shortcut and select Run as Administrator.
- Here just like before, type Ipconfig/flushdns and press Enter.
For Older Versions of Windows
Simply run the cmd.exe file or type in cmd.exe in the Start button -> Run bar. Once the command prompt is open just type in the command Ipconfig/flushdns and press Enter.
A success message will be displayed and your DNS cache will be cleared.
Bonus: Apple Operating Systems
MacOS X El Capitan, macOS Sierra and macOS Mavericks
Apple products take special care of user experience over everything else. Perhaps this is why the latest version, along with recent older ones, use the same command to perform the task (except for macOS Yosemite).
- Open up the command prompt called as Command Terminal.

2. Type the command sudo killall –HUP mDNSResponder and press Enter.
(In macOS Yosemite, the process is same, except that the command to run is sudo discoveryutil udnsflushcaches)
Once you are done clearing up the DNS cache, try to access the websites again. If you can access them then great, problem solved! If not, then it’s time to dive deeper into the troubleshooting. It might help to contact Windows’ support department with questions.