
Many people underestimate the need for Mac security, maybe placing a little too much faith in Apple to keep them and their machines safe from malicious attacks.
However, taking measures to maximize the security of your Mac is not something that should be overlooked. Examples like the infamous High Sierra root bug in 2017 show that Macs aren’t immune to security flaws.
There are many steps you can take to ensure that your personal information and the integrity of your machine are not compromised using settings that are already built into your computer.
Read on for six essential tips to keep you and your Mac safe.
1. Users
What?
If you have multiple users on your Mac, it’s a good idea to have an administrator-level user with all the authority to modify system settings and one or more guest users with limited or no authority.
Why?
Even if you are the only person using the computer, using the guest login for everyday tasks will ensure that you don’t mistakenly change any critical system setting or share unnecessary data.
How?
First, have an administrator level user with a strong password. Make sure that there are no hints set for this admin user. This way, this user’s password is more secure and less likely to be guessed.
Make a guest user without any privileges. You can do that by accessing Systems Preferences and then Users & Groups.
Once that is done you can allow the guest user to log in by accessing Guest User under Users & Groups, checking the option: Allow guests to log in to this computer.
2. Privacy and Security
What?
Use the settings provided under the Privacy & Security to your advantage through the following options:
- Enable instant, automatic download of updated security patches.
- Ensure that your computer asks for the password each time it goes to sleep and reduce the amount of time it waits before going into sleep mode.
- Ensure that only identified developers or developers from only Apple’s own app store get installed.
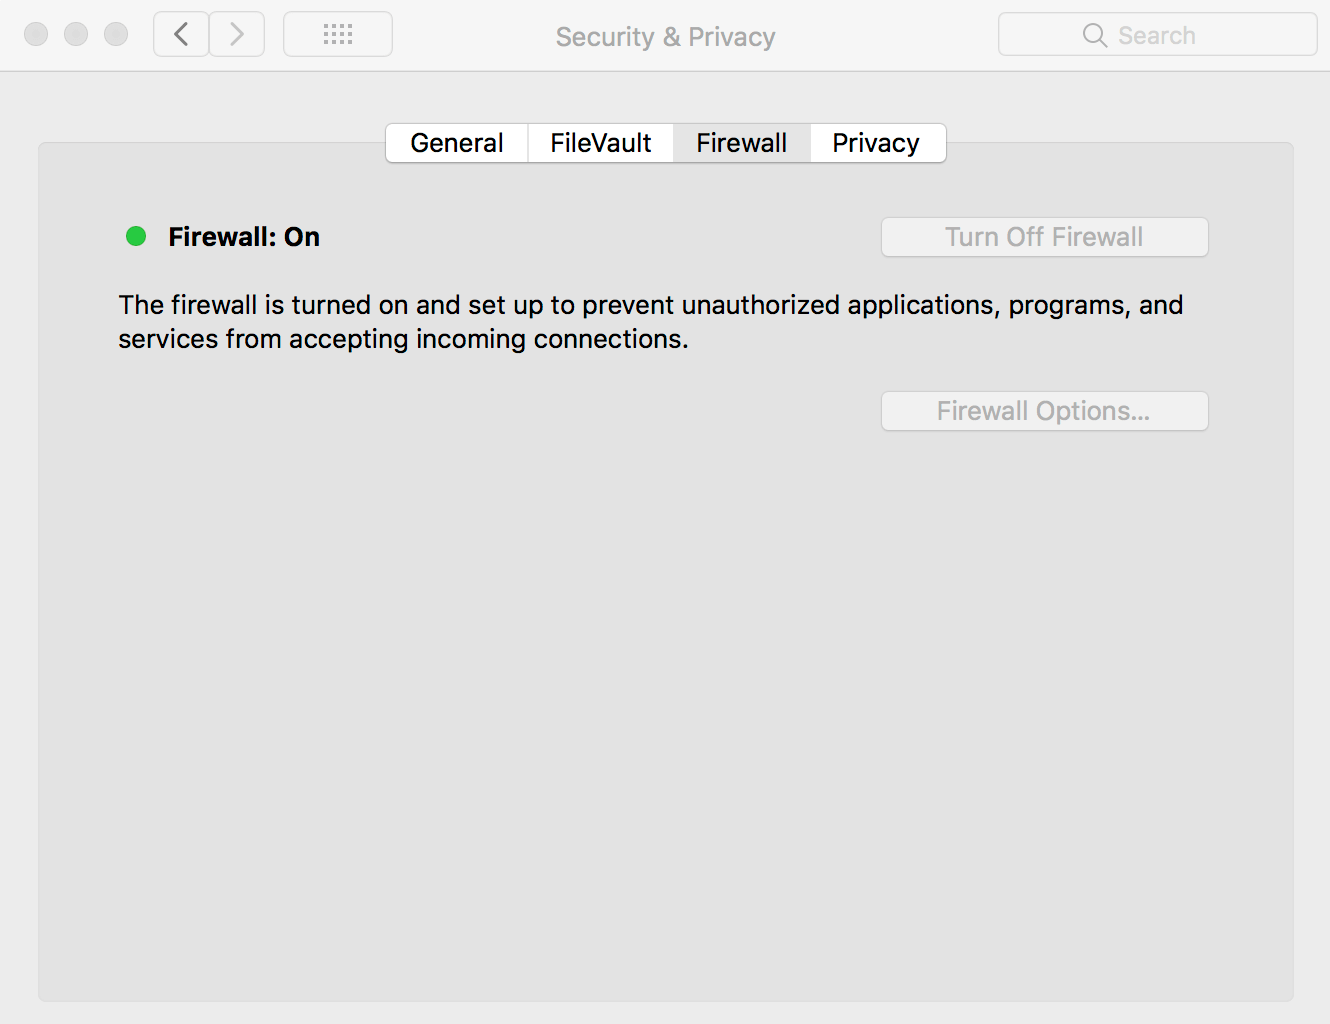
- Manually turn on the Firewall.
Why?
Utilizing these settings will reduce the amount of attention you need to pay to security updates and the status of your computer by making the processes more automatic.
Having a firewall will ensure that only secured web traffic is allowed, while reducing the time elapsed before your computer enters sleep mode and then asking for a password will keep you safer in public places.
The subject of identified app developers is a grey area. The best practice would be to only download apps from Apple’s own store. However, most people have their favorite third-party apps. Unfortunately, anyone can become an identified developer, but if Apple blocks someone’s developer certificate due to malpractice, then you won’t be able to download their app. This can serve as one of your filters.
How?
- Go to Systems Preferences and then to Software Update.
- Find Advanced and then turn on the option of Install system data files and security updates. This will enable the automatic update of security patches.

For the next three options, you need to stay in System Preferences under the Privacy & Security tab.
- Go to General and then set the option to immediate for Require password after sleep.
- Turn the option for Allow apps downloaded from set to only App Store if you want apps installed from only Apple’s App Store, or to Identified developers if you want apps from identified users as well.

To turn on the firewall:
- Got to Firewall under the Privacy & Security tab and turn it on.
- Once on, go to Firewall Options under the Firewall setting and turn on the option of Block all incoming connections.
3. Options for the New User
What?
Give apps for new guest users less authority. Keep an eye at what kind of apps have full disk access or personal folder access. Remove apps that have access to the camera or microphone.
Why?
This is in following with tip #1 on this list, reducing guest user accessibility. Giving access to apps which may use personal calendars, folders or unlimited access to the disk or the camera, compromises that aim.
How?
Remove any/all apps from the following options:
In System Preference, go to Security & Privacy, then to Privacy. Check the following and remove all or any apps you don’t want accessing the following one by one.
- Calendars
- Camera
- Contacts
- Full Disk Access
- Microphone
- Photos
- Reminders

4. Network and Sharing: Share Less or Nothing at All
What?
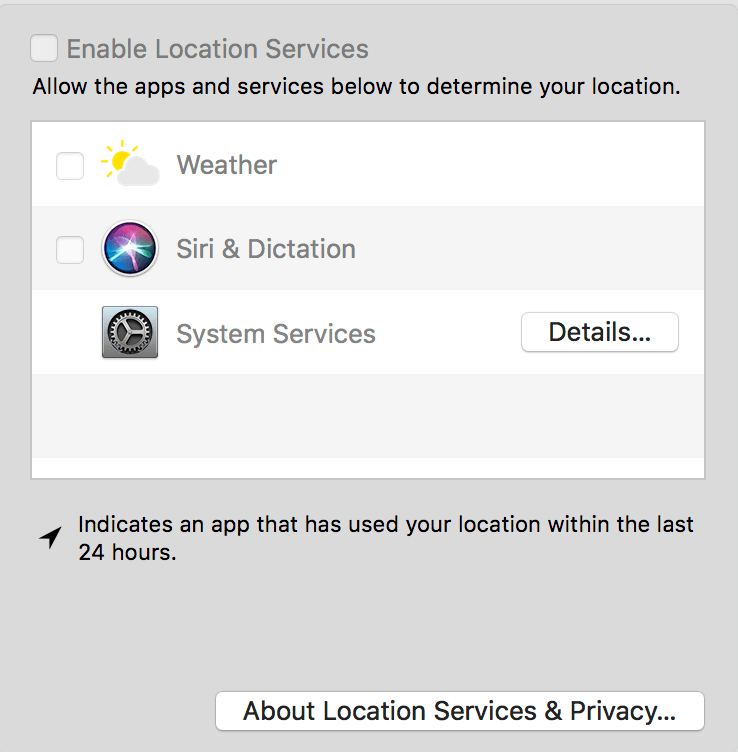
Turn off all the sharing services whether they relate to internet or printer, and also turn off the location-based services and Spotlight suggestions.
Why?
Having sharing options open is like having all of the windows open in an otherwise secured house. It is best not to have them at all.
As is the case with location-based services and Spotlight suggestions. While in Spotlight suggestions, limited data is sent to Apple and Microsoft for improved results, in location-based services, your location is open to any third party’s installed app.
How?
To disallow sharing:
- Open System Preferences and then Sharing. Turn off the option for sharing for all services when not in use.
For location-based services:

- Go to the Security & Privacy tab in System Preferences. Once here go to Privacy and then to Location. Turn off the Enable Location Services option.
For Spotlight Suggestions, stay in System Preferences.
- Find the option Spotlight and then Search Results. Disable both the Spotlight Suggestions option and the Allow Spotlight Suggestions in Look up option.

5. FileVault: Say Yes to Encryption
What?
Turn on FileVault to encrypt the data on your system. It may take some time to enable it as encryption takes time, but it is worth the wait.
Why?
Encryption! That’s why. Although you won’t see any changes in your computer use, this encryption will be troublesome for anyone trying to get data from your computer. They may copy it, but won’t be able to understand it.
How?
- Find the Security & Privacy tab in System Preferences and then FileVault. Here simply turn the FileVault option on.
- Once it is on, choose a strong password for it.
- Once that is done, take care of the sleep loophole associated with FileVault by running the following commands in the terminal or command prompt:
$ sudo sh -c ‘pmset -a destroyfvkeyonstandby 1; pmset -a hibernatemode 25’

6. Browser Settings
What?
Choose a browser with customizable options for increased security.
Why?
The bulk of aforementioned security measures will take care of physical access by other people or installed apps. What remains is the plethora of access we provide to everyone on the internet through browser use. Customizing your browser settings will increase the level of online security.
How?
In the browser of your choice:
- Do not download cookies from third parties.
- Disable flash.
- Download an ad blocker.
- Turn on the Do Not Track option if available.
- Turn off WebRTC and Telemetry.
- Depending on the browser you use, try to find and utilize the JavaScript whitelisting options and only use whitelist websites that you trust.
- Finally, only allow safe formats of files to be downloaded.
Final Words
Setting up your Mac is the first step. The second most important step is to change your behavior and tailor it to match your security-centric approach.
- Lock your Mac whenever you leave it. Turning it off is better.
- Use a dedicated encrypted email service provider.
- Back up sensitive data and encrypt it.
- Consider using a VPN. While on the subject of VPNs, choose a good paid service rather than a free one. VPNs require capital to set up and run. A free one does business by selling data for ads. Avoid it at all costs.
- Keep your system up to date.
- Keep strong passwords for logins and use two-factor-authentication wherever possible.
Hackers get into systems by utilizing loopholes, flaws and a general lack of user attention towards the security of their system.
When hackers are faced with someone who pays attention to their security, they’re less likely to wait for you to slip up and more likely to look for an easier target.