
If you find your phone slowing down or dragging a bit, it is time to check the storage status. One of the main reasons could be that the storage is used up to a large extent and there is very little space left.
In particular, if your phone does not have microSD card provisions (as is the case with iPhones) and if you happen to be accumulating a lot of images and videos in your phone over time, the storage issue could be critical.
But you shouldn’t get worried about this since the data residing on both iPhones and Android phones can be backed up and stored in the cloud or other places and removed from your phone.
This will free up the storage in your phone and you will face no difficulty in using it as you are used to.
The process for backing up data on both Apple and Android operating systems is fairly simple. Here are the steps to be followed for each system:
How to Backup Data on iPhones
If you own an iPhone and the 16GB or 32GB internal storage is not sufficient for your level of use, then backing up the data is essential to have the phone operating smoothly.
You have the option to store it all on iCloud. Up to 5GB on iCloud comes free with the device. By paying $.99 per month, you could enjoy up to 50GB of iCloud storage.
Here’s how you can go about availing this:
- Ensure that your iPhone has Wi-Fi connectivity before you start this exercise.
- Open Settings and tap on your name appearing there.
- Now tap on iCloud.
- Next tap on iCloud Backup.
- Lastly, tap on Backup Now.
Additional Information on iPhone Data Backup
Some of the previous versions of iOS—iOS 10 or before—may display a slightly different menu than described above. Check before you proceed.
The backup process may consume some time depending on how much data you are trying to transfer out of your phone’s storage. Wait until it is completed and ensure the Wi-Fi connectivity does not break.
The Backup Now menu will have a legend showing when you last backed up after the backup is completed. If it shows the current time, your task is complete.
As mentioned, there is the option to pay and avail additional iCloud storage space. You can even choose a higher capacity and use for your whole family.
However, if you don’t want to pay for extra storage, Apple permits you to store your data on iTunes for free; there is no upper limit for this service either. The only difference here is that you will have to do this manually all the time.
How to Backup Data on Your Android Phone
In the case of Android phones, if you have signed into a Google account on your phone, then Google generally takes care of the backing up activity and all photos and videos are on your phone will be automatically backed up by Google on a daily basis.
But for this to occur, you should have signed into a Google account. There are two ways to it; if you already have a Gmail account and it is activated on your device, then the moment you access your phone or Android-run tablet, Google will automatically sign you in.
If not, here’s how it is done:
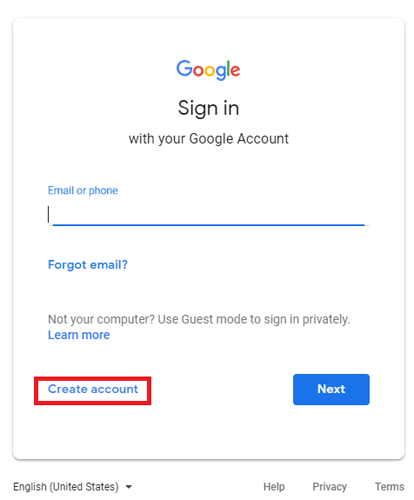
- Go to Google’s homepage.

- Click/tap Sign In. On prompt, tap Create an Account.
- A form will appear where you need to provide some minimum details like your name, location, etc.
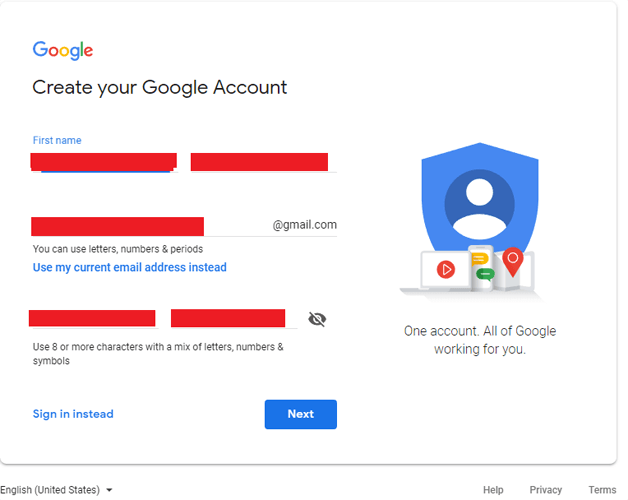
- You will have to create a strong password for the Google account.
- Lastly, you will have to tick the box involving Google’s Terms of Service and Privacy Policy. This will confirm you accept the terms.

- You can add your photo to make your profile complete.
With this, your Google account has been established. Now for backing up all data from your device to the cloud or an external location, Google takes care of this process automatically. The normal destination is to your Google Drive.
You can independently choose Google Drive attached to your Gmail to store any file that you don’t want to store in your device. However, there is a way to check if the backup has indeed been done. Here’s how:
- Go to the Settings page.
- If you can locate the search engine bar, type “Back up” (note the space between the words).
- Depending on which Android phone you are using, a results or options page will open.
- If you find “Back up to Google Drive” at the top of the screen, you can tap to switch it “ON.”
- Alternately, if the display has “Back up my data” and “Automatic restore,” you will need to leave both in the “ON” position.
Saving Data onto Your PC/Laptop
If you are not happy, for any reason, with this kind of backup of your data, you may just go back to the conventional method of keeping the files on your PC or laptop where storage capacity would not be an issue.
If it is a Windows operating system that your device is running on, you will have to connect the Android device by means of a USB cord. The notification on the USB being connected to the PC will appear on the menu icons on top of the screen on your Android phone and you will have to swipe down the menus to see it and tap on it.
A prompt titled “Transfer Files” will appear. Tapping on it will start the transfer of data from your mobile phone to your computer and you can store that data in a folder so you can retrieve it easily whenever you need it.
If your phone is an Android device and your computer has a Mac operating system, you can make this transfer work too, but you will first have to download and install Android File Transfer, which is a Google program, onto your Mac.